Showing posts with label decor. Show all posts

Saturday, July 23, 2016

It's a Pencil, It's a Box...It is FUN!

OK I must have been somewhere under a rock, as I was unaware of the existence of My Scrap Chick. What a fun store, full of fun designs!

But when I saw this project - I fell in love. Just like that. Pencil Box 3D


Well now really...who would not like such a fun box or decor item? I know I do. Yes please, just give me a shelf full!

Seriously.

Now as an artist and one who works mostly in coloured pencil, well the graphite pencil is really nice, but I decided to turn it into a coloured pencil. The original pattern makes a finished pencil of 12.25" tall


Actually...a few coloured pencils... ps all the pieces in the back are done with coloured pencils. The florals not by me, but all the rest of them are prints of my work. The originals having been sold, I'm 'reduced' to having prints of them on my walls. Ha! If you'd like to see more take a look at my art blog here : Reflections Fine Art Studio. (I working on a website)


A few process pictures for you :

The body of the pencil, scored on a score board, rather than with the Cameo.


The pencil 'lead' ready for a quick bit of inking before attaching it to the 'wood' cone


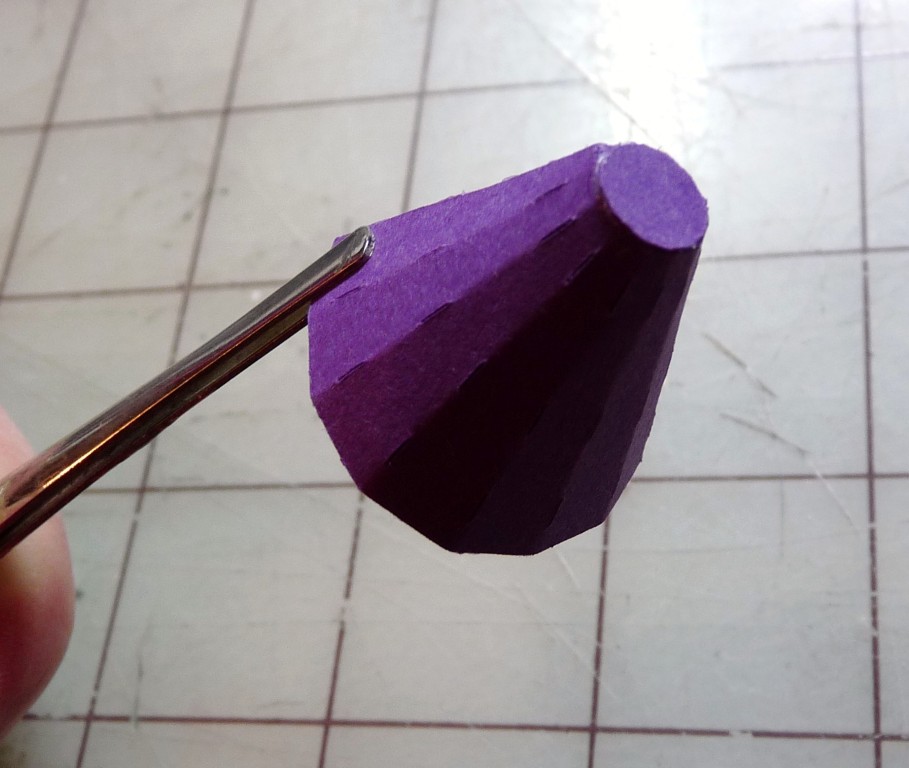
 The 'wood' cone with the 'sharpener' details attached


And the detail pieces glued onto the surface of the cone - now I can add the coloured nib.


Instead of adding the pink eraser and metal strip details that the original pattern has, I added this wooden base with the coloured core so it will look like a coloured pencil.


Now I am ready to draw...or maybe not, the colour doesn't work with this piece I'm currently working on...


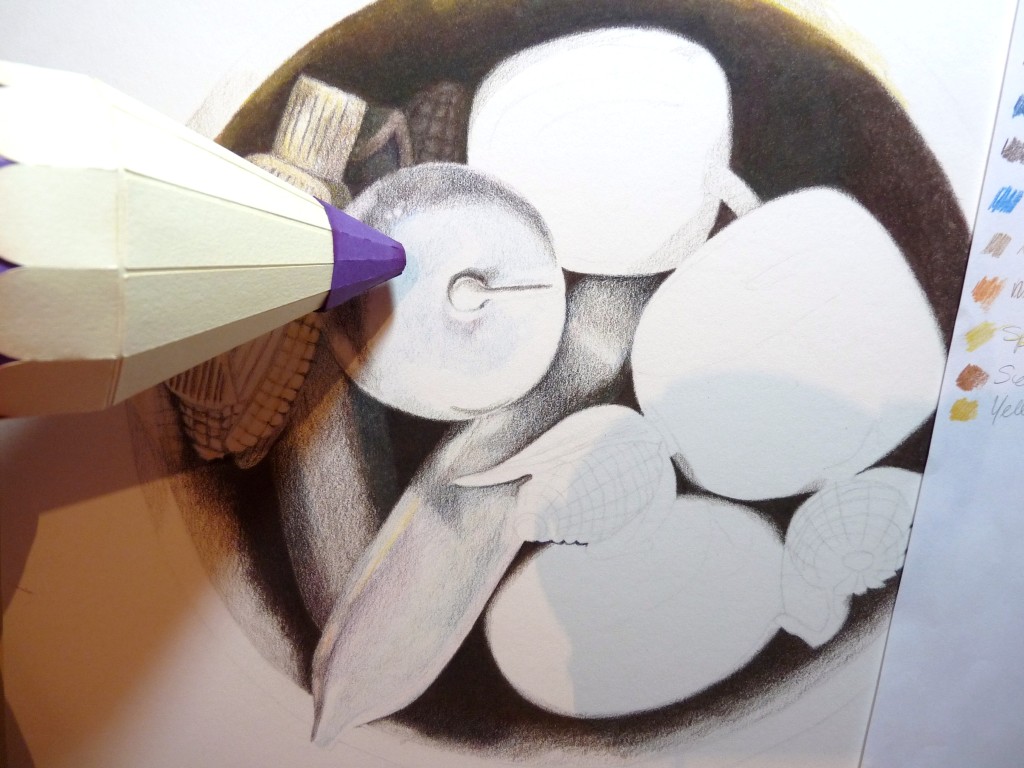
But they might have worked with this colouring book page. Ha!
The page is from the 'Medieval Tapestries' colouring book published by Dover. I copied and enlarged it to make a decor item for my craft area. Maybe I should arrange the pencils around it on the wall...oh the possibilities with these fun pencils are ENDLESS!


I made these all as boxes so they may be used for decor, or they may become containers. They would make the BEST gift boxes. Imagine : a colouring book and a pencil box full of pencils! Great gift, don't you think?

Monday, December 14, 2015

Tree Decor - Wood Slices

A casual remark from a friend got me thinking...and playing.

And this was the result :


My friend commented on how perfect a log, in the bucket of firewood, would be for making wood burning ornaments. It did not take me long to ask hubby to slice the 'log' for me! However I found that the soft center of the wood (Big Leaf Maple) was hard to avoid and the darker areas really bugged me.
So I broke out the stamps and although the soft bits are still visible, I find it less obvious. Of course these pictures show them huge. The actual slices are only 1 7/8" tall (46mm), so in reality you have to look closely to see the imperfect bits.
This mouse image is 1.25" tall. (I touched up the black on the eyes and other parts of the image, after I looked at this picture. Now the lines and details are clear and crisp again)


I stamped them using Stazon ink and did the colouring with colour pencils.


I added a bit of glitter glue to some areas as well and embossing powders with glitter. For the puffy details on the birds' hats I used Tulip Puffy Dimensional Fabric Paint.


I'm very pleased with the results and will be keeping eyes open for more suitable logs for future decor items! It would be good to find slightly larger slices as there are so many images that would work very well for these.

Stamps used are all by Penny Black

The mouse is from Holly Jolly


The robin trio from 'Winter Wonderland'


The hedgehogs are from 'Every Which Way'


Saturday, April 18, 2015

Summer - Lighthouse and Ocean Decor

It is a good thing we live by the ocean. I always want to use ocean themed decor in the house for summer and living by the ocean just makes it feel more appropriate to me.

So naturally when it came for making some decor items for a corner table I turned to a cut file set by SVG Cuts. "Seaside" I knew I wanted to make (all!) of the items in this kit, the moment I saw it.


For my version I decided to use rubber stamps to make a 'pattern paper' for the accents on my buildings, while staying with the traditional red, blue and white nautical colours.


The lighthouse keeper's cottage is decorated with stamps by Prima 'Seashore', 'Down By The Seaside' by Inkadinkado and the Graphic 45 'By The Sea' stamp set by Hampton Art. (I got mine at Jo-Anns, but don't see these listed there right now)


The windows are cut from vellum, and since the house is also a box, LED tealight 'candles' can be placed inside to illuminate the cottage.


Shells, made from polymer clay, decorate the front of the house. The blue cardstock  has a linen finish that adds great texture and the panels on the roof are embossed to have a 'tiled roof' look.


For the lighthouse I used the same blue cardstock, stamps and white pigment ink.


More embossed panels at the base of the light house add interest.


While the roof panels are both stamped and embossed. This portion of the lighthouse can hold an LED tealight 'candle' as well. The vellum windows allowing the light to glow through. (hmmm I see I managed to get sea sand onto the lighthouse too. That is from the real shells in the display!)


Here's a look at the new SVG Cuts release :  Spring Blossoms. That spring blossoms pop up card is so very very pretty and the details on the pieces are a feast for the eyes!

  Click HERE to learn how to get 'Spring Blossoms' free with purchase.


Have a great weekend, and happy paper crafting!